
If you love coffee, there's a high chance you're familiar with the magic of steamed milk. Whether it’s for a latte, cappuccino, or flat white, mastering the art of steaming milk can elevate your coffee-making skills to a whole new level. The Breville espresso machine is a fantastic tool for this, and in this guide, I will take you through the process of steaming milk on the Breville step by step. By the end, you’ll be able to create café-quality drinks in your own kitchen.
Understanding the Breville Steaming Wand
Before we dive into the steaming process, it's essential to understand the equipment you're working with. Breville espresso machines come with a steam wand that allows you to steam milk to perfection. The steam wand works by releasing hot steam under pressure into the milk, creating microfoam. The key to a good steamed milk experience lies in controlling both temperature and texture, and with the Breville, you're in good hands.
For those who want a high-performance machine with precise steaming control, the Breville Dual Boiler BES920XL Review explores a model designed for advanced users who want more control over their milk steaming and espresso-making process.
Preparing the Milk for Steaming
The first step in the steaming process is to prepare your milk. For the best results, you'll want to use fresh, cold milk. Whole milk is generally preferred for its creaminess, but you can use alternatives like oat or almond milk if that's your preference. A lot depends on the type of coffee drink you're making, but for a latte or cappuccino, whole milk will yield the smoothest and richest texture.
It's important to start with a chilled metal milk jug, which helps maintain the right temperature during the steaming process. The jug should have enough space for the milk to expand as it froths. Aim for about one-third of the jug filled with milk to leave room for it to foam up.
If you're looking for a Breville espresso machine that simplifies the milk steaming process while maintaining quality, check out the Breville Barista Touch Impress Review for insights on a user-friendly option with automatic milk texturing.

How to Steam Milk on the Breville: Step 1 – Turning on the Steam Wand
Now that your milk is ready, it’s time to start the steaming process. First, turn on your Breville espresso machine and give it a few moments to heat up. Once the machine is ready, turn the steam knob to activate the steam wand. You'll notice a burst of steam coming out initially, which is normal. It's a good idea to purge the steam wand briefly before introducing the milk, just to clear any water that may have accumulated in the wand during the heating process.
For those comparing Breville machines, the Breville Barista Express Impress vs Pro breakdown can help you decide which model best suits your espresso and steaming needs.
How to Steam Milk on the Breville: Step 2 – Positioning the Steam Wand
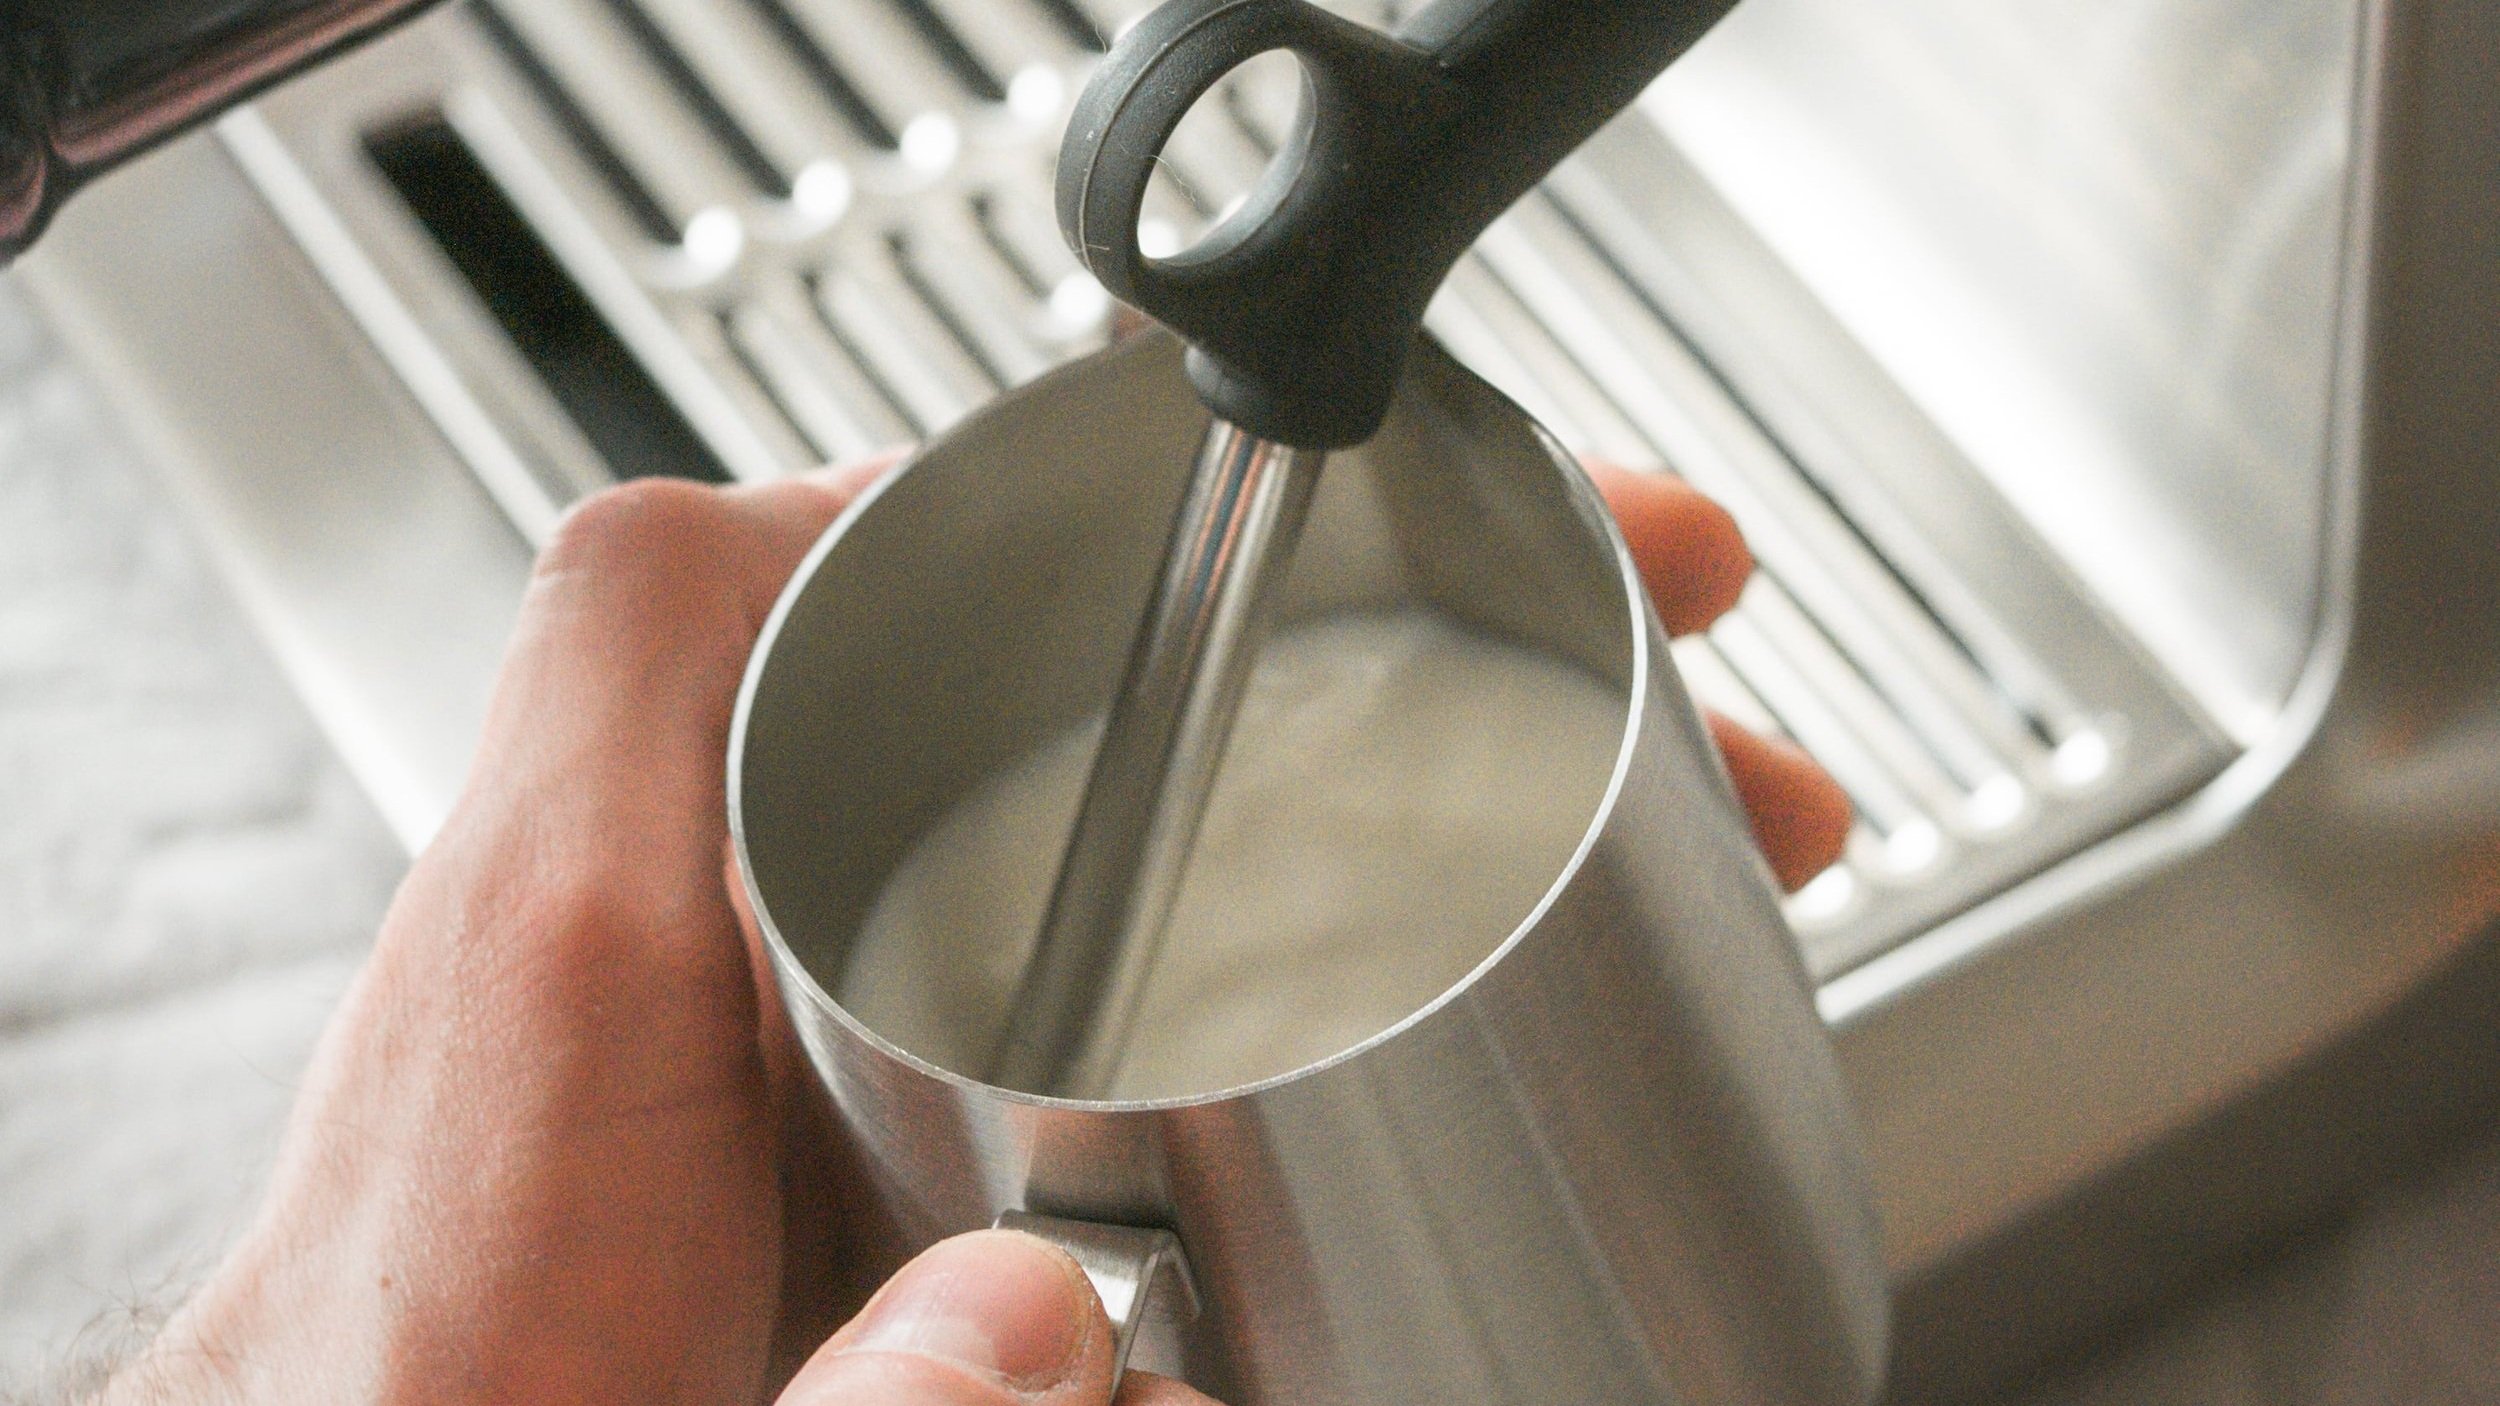
Now that your steam wand is ready, it’s time to position the milk jug. Place the tip of the steam wand just below the surface of the milk, making sure it is tilted slightly. The goal here is to introduce air into the milk to create the microfoam. You should hear a gentle "hissing" sound as the wand introduces steam into the milk.
If the steam wand is too deep into the milk, you’ll get less foam and more heat. If it's too shallow, you’ll create large bubbles, which we want to avoid. The key is to find the right balance, and that comes with practice.
If you're deciding between Breville models for home use, Breville Barista Pro vs Express provides a comparison of two popular machines, both of which offer excellent steam wand performance.
How to Steam Milk on the Breville: Step 3 – Creating Microfoam
Once the steam wand is in the correct position, you’ll want to create microfoam. This is where the real art of steaming comes in. You should aim to create tiny, velvety bubbles in the milk, which will add creaminess and texture to your coffee drinks. To do this, gently tilt the milk jug so that the milk begins to spin in a whirlpool motion.
As the milk spins, the steam wand will inject air into the milk. Be sure to keep the tip of the wand just below the surface so that you can hear that gentle hissing sound. This is a sign that you're aerating the milk properly. If you don't hear that sound, the wand may be too deep, and you won't create the desired texture.
How to Steam Milk on the Breville: Step 4 – Monitoring the Temperature
Temperature control is critical when steaming milk. The milk should reach about 140°F (60°C) to 160°F (71°C) for the ideal texture. You can use a thermometer to monitor the milk's temperature or simply feel the side of the jug with your hand. When the jug becomes too hot to touch, that’s a good indicator that the milk is at the right temperature.
If you don't have a thermometer, don't worry! You'll get the hang of it with practice. Just be careful not to overheat the milk, as it can burn and develop an unpleasant taste. The milk should be hot, but not scalding. If you go past 170°F (77°C), the texture may degrade, and the milk can lose its sweetness.
How to Steam Milk on the Breville: Step 5 – Finishing the Steaming Process
Once your milk has reached the right temperature and texture, it’s time to turn off the steam wand. Carefully remove the milk jug from under the steam wand and wipe the wand with a damp cloth to keep it clean. A quick clean-up will ensure that your next use goes smoothly.
The milk should have a silky texture with fine, velvety microfoam that you can pour into your coffee. If you're making a latte, the milk should pour smoothly and evenly into the espresso, creating a beautiful, creamy drink. For a cappuccino, the foam should be thicker, allowing you to create the signature foam crown.
For those considering an upgrade, the Breville Oracle vs Oracle Touch comparison might help you decide which of these advanced models suits your needs, especially if you’re looking for an automated milk steaming experience.
How to Steam Milk on the Breville: Step 6 – Pouring the Steamed Milk
The final step is to pour the steamed milk into your coffee. For a latte, pour the milk slowly, allowing the espresso to mix with the milk. For a cappuccino, you’ll want to pour the milk quickly to allow the foam to rise to the top, forming a thick layer of frothy foam. Latte art enthusiasts can get creative at this stage and use the steamed milk to create beautiful designs on the surface of the coffee.
Troubleshooting Common Steaming Issues
Even though steaming milk on the Breville is fairly straightforward, it can take some time to master. Here are a few common issues you may encounter:
1. Large Bubbles in the Milk:If you find that your milk has large, uneven bubbles, it could be due to the steam wand being positioned too high above the milk's surface. Make sure you’re keeping the tip of the wand just below the surface and creating that whirlpool effect.
2. Milk Overheating:If the milk is too hot or starts to taste burnt, it’s likely that you’ve overheated it. Try to avoid going past 160°F (71°C) for the best results. If you’re using a thermometer, aim for that ideal range.
3. Inconsistent Foam:Inconsistent foam can be caused by not allowing the steam wand to properly aerate the milk. Try adjusting the position of the wand so that it creates a smooth, consistent whirlpool, and make sure the wand is submerged enough to generate that hiss.
4. Not Enough Froth:If your milk isn’t frothing as much as you’d like, it may be due to not introducing enough air. Ensure that the wand is close to the surface at the start of the steaming process to help create a good amount of foam.
Conclusion: Mastering the Art of Steaming Milk on the Breville
Steaming milk on the Breville is a skill that can be perfected with a little practice and patience. By understanding the process and paying attention to the details—such as milk type, steam wand position, and temperature—you’ll be able to create delicious coffee drinks that rival your favorite café. Remember, every great barista has honed their technique, and with time, you’ll do the same.
I hope this guide has helped you feel more confident in your ability to steam milk on the Breville. So go ahead, fire up your machine, and enjoy a perfectly crafted latte or cappuccino in the comfort of your home!